

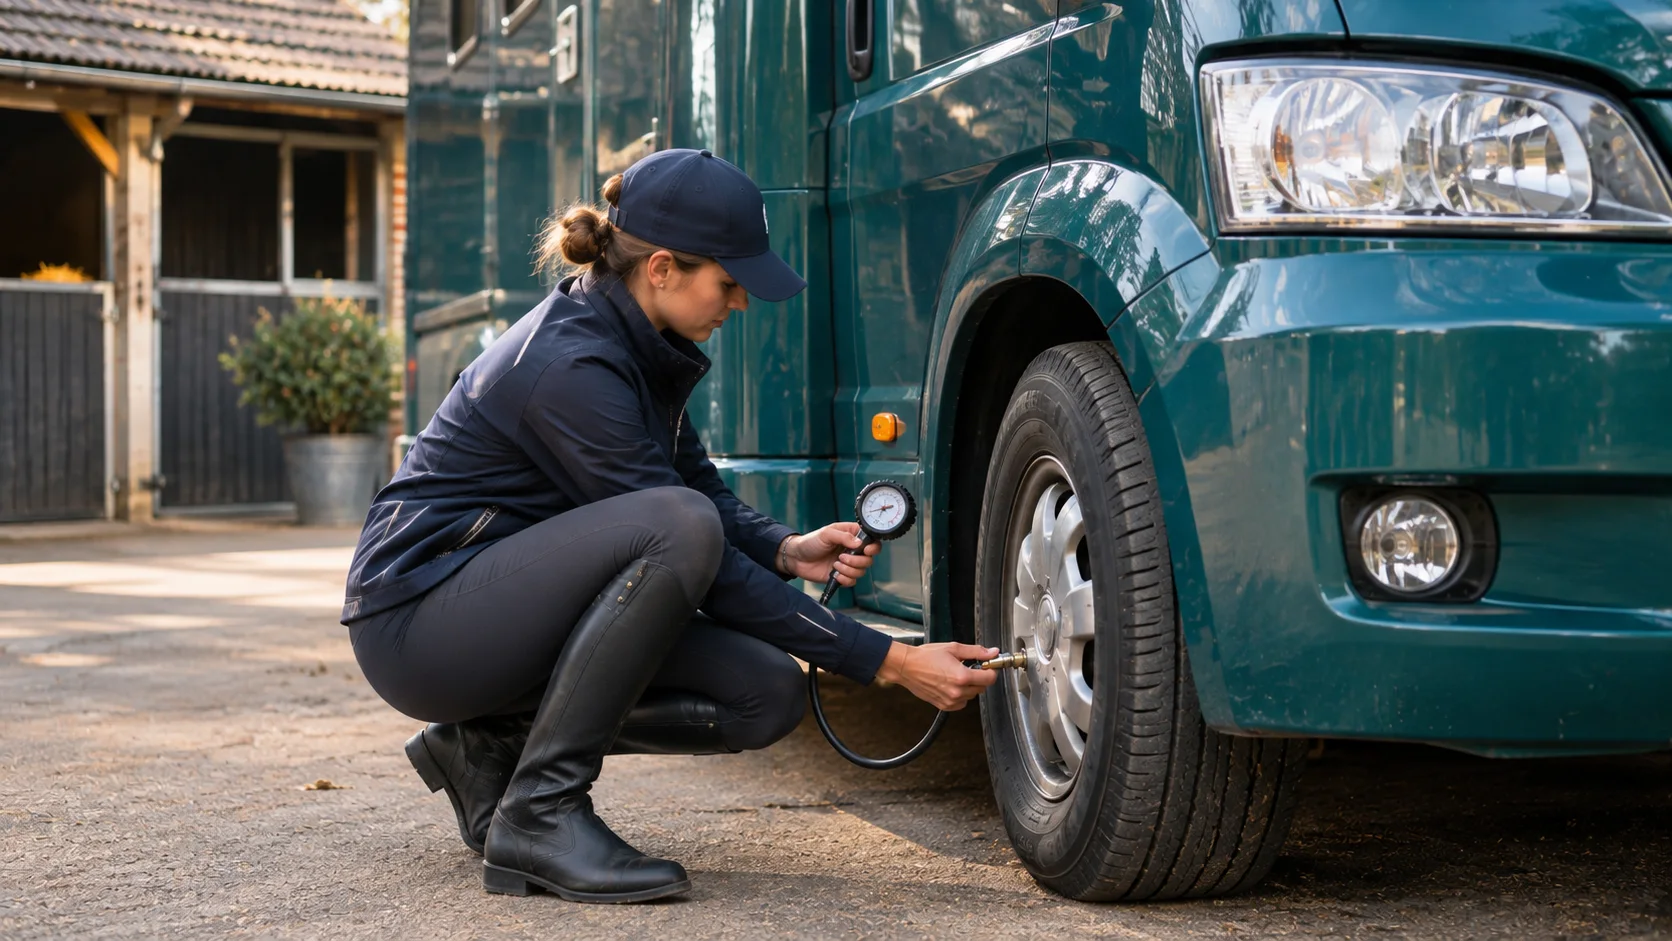

Ten minutes of horsebox safety checks before you load is the cheapest insurance you will ever buy. Horseboxes and trailers often stand unused for weeks, which is exactly when tyres lose pressure, brakes seize, batteries go flat and floors quietly rot. GOV.UK guidance asks owners to carry out daily walkaround checks before driving, and examiners find the same faults on horseboxes time after time.
This step-by-step checklist works for 3.5 tonne boxes, 7.5 tonne lorries and horse trailers. Print it, keep it in the cab and work through it every time.
Key points
- Check the vehicle before the horse is anywhere near it.
- Tyres, lights, brakes and the floor are the four areas that matter most.
- Inside, check partitions, breast bars, breeching bars, ramps and tie rings.
- Carry documents, a first aid kit for horse and human, and recovery details.
Step 1: Walk round the outside
- Tyres: correct pressures (cold), tread depth above the legal minimum, no cuts, bulges or cracking in the sidewalls. Check the date code; trailer and horsebox tyres often perish before they wear out.
- Wheel nuts: all present and tight; look for rust streaks that suggest movement. Wheel nut indicators make this quick.
- Leaks: look under the vehicle for oil, fuel, coolant or brake fluid.
- Bodywork: no sharp edges, loose panels or damage that could injure a horse or another road user.
- Number plates and reflectors: clean, secure and legible.
Step 2: Lights and electrics
- Side and tail lights, dipped and main beam headlights.
- Indicators and hazard lights, front, rear and side repeaters.
- Brake lights. Ask a helper or reverse up to a reflective door.
- Number plate light and reversing light.
- For trailers: plug fully inserted, cable not dragging, and all trailer lights working with the car.
- Interior lights and any CCTV camera you use to watch horses.
Step 3: Under the bonnet and in the cab
- Engine oil, coolant, brake fluid and screenwash levels.
- Wipers and washers working; windscreen free of damage in the driver’s view.
- Mirrors clean, secure and adjusted.
- Horn working.
- Seat belts in good condition.
- Warning lights on the dashboard all clear after starting.
- Brakes: test the footbrake and parking brake at low speed before the horse is loaded.
Step 4: The floor and ramp
A failing floor is the most dangerous fault a horsebox can have, because it can give way under a moving horse. GOV.UK guidance specifically asks owners to inspect the floor and check under matting or plates.
- Lift the rubber matting, or at least the edges and the area where horses stand.
- Look and probe for soft, dark or spongy timber, rust on metal floors and gaps at the joints.
- Check under the vehicle for sagging, corrosion or daylight showing through.
- Check ramp hinges, springs, struts and the ramp surface for grip and damage.
Our detailed guide on how to check a horsebox floor explains what you are looking for and when to call a professional.
Step 5: Inside the horse area
- Partitions: swing freely, lock securely and have no sharp edges or broken padding.
- Breast bars and breeching bars: pins and catches work and release quickly.
- Tie rings: secure, with breakable twine loops attached.
- Windows and vents: open and close properly; grilles intact.
- Groom door and jockey door: latches secure.
- Bedding or matting: non-slip, with a light layer of shavings if you use them.
- Cleanliness: droppings and wet bedding removed to reduce ammonia and slipping.
Step 6: Trailer-specific checks
- Hitch head locked on the ball, wear indicator in the green zone.
- Breakaway cable attached to a proper point on the tow car.
- Jockey wheel raised and clamped; corner steadies up.
- Trailer handbrake released after hitching.
- Trailer weight within both the trailer’s and the car’s limits. See our guide to towing a horse trailer.
Step 7: Paperwork and equipment
- Horse passport for every horse on board. It must travel with the horse.
- Driving licence covering the vehicle’s plated weight.
- Insurance and breakdown details, including equine recovery cover.
- For commercial journeys: transporter authorisation and certificate of competence where required.
- Human and equine first aid kits, a torch, hi-vis vests and warning triangle.
- Fire extinguisher, spare headcollar and lead rope, water and hay.
- Mobile phone charged, and the number of a vet near your destination.
Step 8: Loading and moving off
Only when the vehicle has passed every check should you fetch the horse. Load calmly using the sequence in our guide to how to load a horse, double-check ramps and doors, then drive the first few hundred metres slowly, listening and feeling for anything unusual.
Regular maintenance, not just daily checks
Walkaround checks spot obvious faults; they do not replace servicing. Horseboxes up to 3,500kg need a standard MOT, and boxes over 3,500kg need the goods vehicle annual test. A qualified mechanic should service the base vehicle and the horse area. For trailers up to 3,500kg, the National Trailer and Towing Association offers free safety checks, and manufacturers list authorised service agents. Keep a simple record of services, tyre changes and floor inspections; it helps when you sell, too.
Frequently asked questions
How often should I check my horsebox?
Do the walkaround checks before every journey, and a deeper inspection, including under the matting, at least every few months and after any period of storage.
What is the most common horsebox fault?
Tyres and lights are among the most common roadside defects. The most dangerous is a rotten or corroded floor.
Does a horse trailer need servicing?
Yes. Brakes, bearings, hitch, floor and ramp should be serviced regularly even though light trailers do not need an MOT.
Summary
Outside, lights, cab, floor, horse area, trailer gear and paperwork: work through the same order every time and you will catch faults before they become emergencies. The official GOV.UK guidance on horsebox and trailer maintenance explains the requirements.